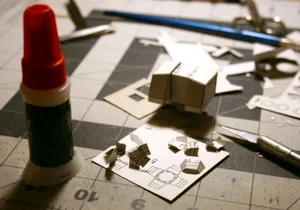
Since my Land Raider has a lot of staring-at-the-walls-waiting-for-the-paint-to-dry going on, I decided to start working on another of Eli Patoroch's models: the Dreadnought. This ...
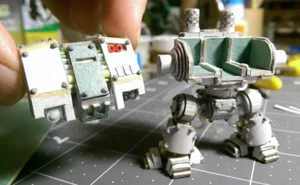
I've gone and compared my model with photos of the official Dreadnought, and realized that the body was not quite in proportion to what it ...
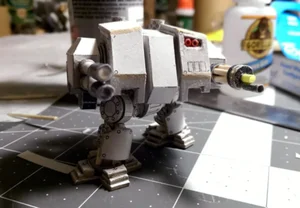
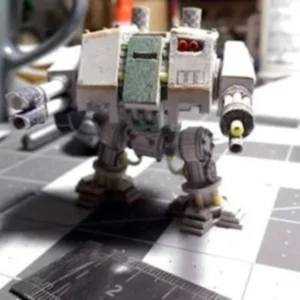
Here is some progress on the weapons. The multi-barrel auto-cannon needs rework (I don't like the look of the toothpicks, I will roll barrels out ...
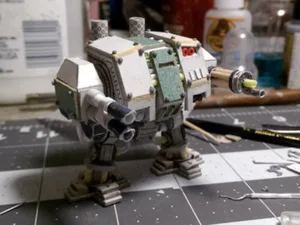
A bit more progress on the body: panels, rivets, etc. I am using some green stuff (putty) to fill in some deeper holes. There is ...
Nothing to see here, move along...
More rivets, and some surgery for the next steps. I think this build will have a lot of mixed media in it, so it might ...
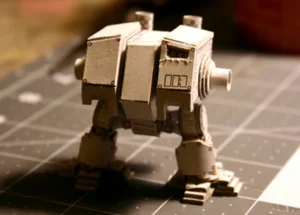
Some more progress: bulking out the... bulkheads? The body fits together nicely. Adding more detail to the feet...
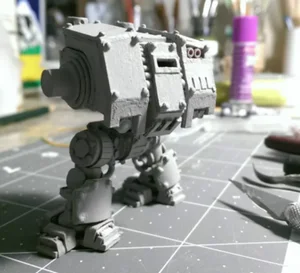
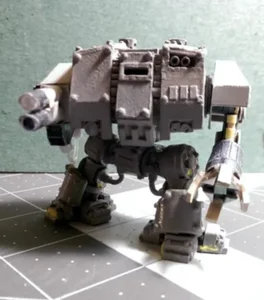
So here is the primed body of the dreadnought - it looks a tad cleaner this way I did this last night, then took the ...
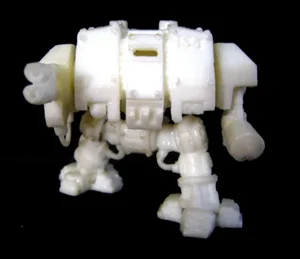
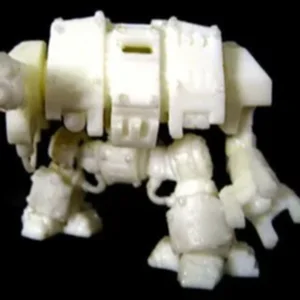
The mold is complete, so I removed the parts from it. They only suffered minimal damage, nothing a bit of CA couldn't fix. Started building ...
Here is the progress I've made in making molds and casting resin parts for this figure. Minus the left hand - this gave me a ...
Finally, I've got all the molds together to cast one of these: The hand took the longest to properly mold. Because I am using caulking ...
A coat of gray primer showed up a fair amount of tiny bubbles on the surface of the parts, again more so toward the parts ...
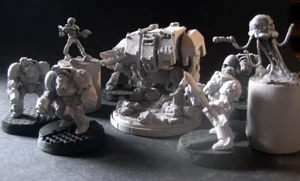
Spent the weekend basing the couple of models I have made: The dready also got a base: All primed and ready to go: Looks like ...
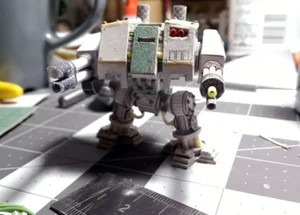
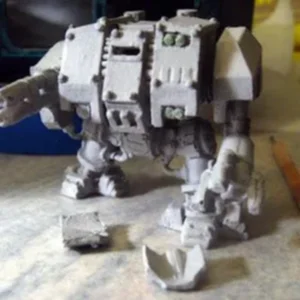
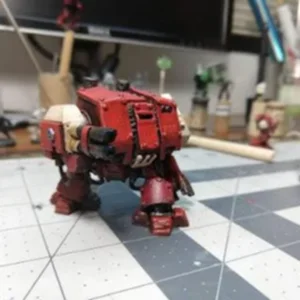
He is getting the rough and ready treatment. Needs some insignias and then a ton of weathering. Because of the rough cast, with visible bubbles ...
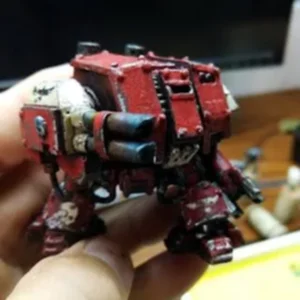
Slapped some chipping and insignia on the garage dread. Basically, the same process as the Raptor's chipping, but I went a step further and added ...